Friday, December 16, 2011

This thing sucks

We have the ceiling in the downstairs powder room removed to work on the plumbing for the new bathtub.  While the space from the powder room ceiling to the attic was exposed we took the opportunity to add a new ceiling fan. This little thing moves some serious air!

 
While he was working Andy noticed that there was no outlet in the powder room.  Neither of us had noticed that we were without an outlet for almost the entire first year we lived here, but we still thought it would be a good idea to add one.  We figured just one outlet would be sufficient so we kept the light on the existing switch, added the outlet, and a new switch for the fan on a double wall plate.

I love this picture.  It looks like we cloned Andy -- too bad we don't get twice as much done.

And again we have another picture without all of the screws lined up properly.  I promise I'll get these fixed before I take any more photos.

Monday, December 12, 2011

Framing is....DONE

This bathroom project turned half house renovation had a lot of framing work for Andy.  He had to frame a wall behind the new bathtub, close off an old closet door location, frame out a half wall at the top of the steps, and FINALLY frame out the new closets in the master bedroom.  That project started a few weeks ago with the rerouting of some baseboard heaters and last week he was able to get the walls in place.  Now we can get serious with some drywall!

The start of two new closet.

This is the one on the left side of the above picture and will be the smaller of the two.

This is the closet on the right that is "L" shaped.  You enter through the new part beside the window.

Walk through part of the opening for the old bi-fold doors.

And this is the "L" shaped part to the right.

Now I just need to finish planning out the storage in these closets.  We obviously want some hanging racks, but we also want shelves, good shoe storage, and some cube type storage areas that aren't the wire rack options that are most popular.  This has been the most difficult part of the whole process for me becuase it's hard to visualize.  Some of the products have design websites but none of them work for the "L" shaped space.  Now that the space is framed out I hope it is a little easier to finish the planning.

Saturday, December 10, 2011

Reducing the Ugly

Do you have anything in your house/apartment that you hate but for some reason you have looked at it long enough that you really don't notice it everyday?  And then one day you look up remember the ugliness.  We have a list of these items too long for this blog but one thing on that list is the blinds in the family room.

It doesn't help that the room is entirely wood paneling and we have no ceiling which for some reason makes me see the blinds even more.

Here they are above the windows beside the backdoor.

And at the front of the house...


They are a nice combination of wood and fabric that is old and brittle and we've been afraid to put them down the entire way for fear of never getting them back up.

It was finally time to take them down and hang some simple white blinds. We have a long way to go to lighten up this room but these new blinds already help.  One ugly thing off the list -- 999,945 to go!


We LOVE Photocells!

We live at the end of a cul-de-sac with very few street lights.  At night (especially now that it gets dark so early) it is very dark.  Most of our neighbors leave on a porch light or lamppost at night but 1) we never remember to turn it on and 2) we definitely don't remember to turn it off when we go to bed or even the next morning.  In fact, we use our lamppost so little that I didn't even realize that the bulb was dead until trick-or-treat night.  So we just live in the dark.  When we drive through the neighborhood at night or are out walking Kodak in an adjacent neighborhood we often comment on how many people have outdoor lights on and isn't it amazing that they all remember to turn them on and off!! Well, that was until Andy discovered that most of the lights in the newer neighborhood operate on photocells that are dusk-to-dawn lights.  We don't love our lamppost, but upgrading to a whole new fixture just isn't in the current plan.  Enter the add-on photocell!!

Our existing lamppost is nothing fancy, but it works.


Andy took the top off, drilled a hole in the existing post, and connected the new photocell to the existing light.  It was probably about an hour job and totally worth it to have a light on in the driveway at night.

Then we decided it was a shame that we just replaced the porch light because it would be nice to have that on a photocell too.  Well, the wonderful employees at Lowe's pointed us in the direction of this screw-in photocell adapter.  Just imagine a literal "light-bulb" moment with angels singing in the background.  For less than $10 -- SOLD.  We were considering buying a new fixture for the door with a built-in photocell.  If we ended up not using one of the 5 lights I bought at the tent sale it was still a worthwhile trip and not a considerable cost.  But this was the perfect alternative.


The photocell sits pretty high up inside the fixture so we've found that on cloudy and rainy days it doesn't always turn off.  It's definitely an improvement but we are considering other options to make sure that the light turns off when it should (either an extender for the original dusk-to-dawn adapter or possibly installing a photocell like the one on the lamppost).

I apologize in advance to my OCD family members who will be visually disturbed because the screws on this switch plate are not all lined up vertically.  You may not want to look at the next picture.

Yes, we labeled the switches with the photocells.  That way we don't turn them off by accident.  (Just ignore the black switches and ivory switches.  This is a recurring theme in our house -- one that we are slowing trying to fix, but this hallway is pretty far down on the renovation list.). 

Thursday, December 8, 2011

It's Electric -- Boogie Woogie Woogie

Over the summer I bought some new light fixtures at a tent sale.  Until this past weekend we had only hung 1 of the 5, but this past weekend we were able to hang 3 of the 4 remaining lights and just yesterday Andy hung the last one.

First was the front porch light.  This was supposed to be an easy job to start off the weekend and it ended with an 8am trip to Home Depot followed by another trip to Lowe's that evening so the project could be finished on Sunday.  Remember -- there are no small projects!

The old light.


New light installed after the first trip to Home Depot.  The problem was that the original light did not have an electrical box and the new fixture didn't sit flush with the brick.

After the second trip to Lowe's we got a plate to sit between the brick and the light to act as a box and allow the light to fit secure and flush with the wall.  It's not ideal, but we really don't mind the look.


Then Andy moved to the laundry room in the hopes of finding a project that could be completed without two separate trips to Lowe's.

The original light.  Shortly after this picture was taken the glass cover came crashing to the ground and shattered into a million tiny little pieces.  No small projects!

At least the new light is a great improvement.  The room still obviously needs painted but that will probably happen after the holidays when I can devote an entire weekend to prepping and painting.   


And finally we moved to the kitchen...

This lovely light was hanging over the area of the kitchen table.  It was awkwardly low and when we moved in we used a zip tie to shorten the chain and move the light to the ceiling and we never lowered it.  We hardly ever use the light and the placement is still a little odd, but we figured we could replace it now with the thought that we may be able to reuse the new fixture in a different location when we get to remodeling the kitchen.

Still not the perfect location, but a big improvement and it's not nearly as low as the old one.

After the weekend we had one more light to replace in the kitchen, but when we pulled the light out of the box there were a few areas of chipped paint.  Nothing a little spray paint can't fix, but it's took a few days to finish the painting because I thought I could use paint that I had, but I ran out.

 The old kitchen light.

And the new fixture.  It's the same fixture as the one we hung in the laundry room, but just painted.

And with that in place we have officially added ceiling fans and lights in three of the bedrooms and replaced all of the other light fixtures in the house except for the powder room vanity light, upstair hall bathroom lights, and the dining room lights.


Tuesday, December 6, 2011

All this for a shower curtain!

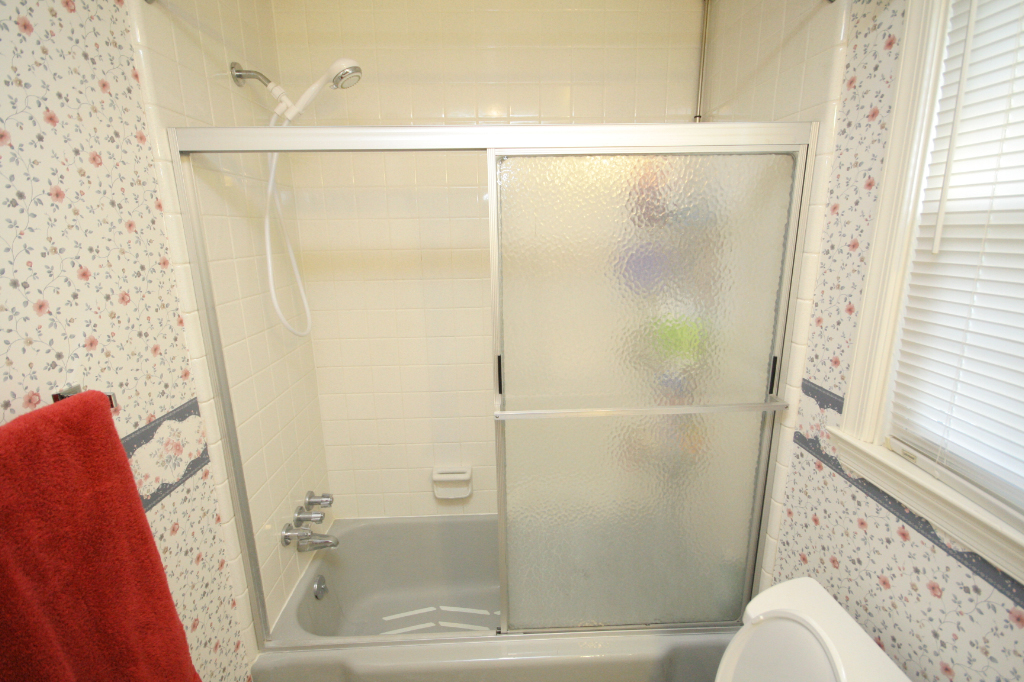
Since we've been using the upstairs hall bathroom as our one and only full bathroom we've noticed some significant problems with its function.  Just like all of our bathrooms it has no ceiling fan, it has glass sliding doors on the tub instead of a shower curtain, and some really ugly wallpaper (just my personal opinion).  Some people really prefer the glass doors to a shower curtain, but these are the old style doors with a track at the bottom and it is impossible to keep clean. 

The thought process went something like this:  Wouldn't it be nice to get rid of these doors?  Yes, but that would make the shower a little too dark.  OK, but we need a ceiling fan in here anyway, why don't we install and fan/light combo like the one Kyle Wise installed and then vent it through the roof with the new fan in the master bathroom.  Sounds simple, right?

Andy and I were having the same thoughts about the doors, so down they came.

The last day for the doors.  Ignore the red towels -- we're of the mindset that we should just use what we have, plus it's my plan to eventually get rid of that wallpaper and having towels that clash is just good motivation.

We didn't expect and certainly weren't planning on having to repair the tile, but the frame for the glass doors was secured with some crazy strong double sided tape.  At least the tiles weren't damaged and Andy was able to get them all cleaned off.


Replacing the tiles.

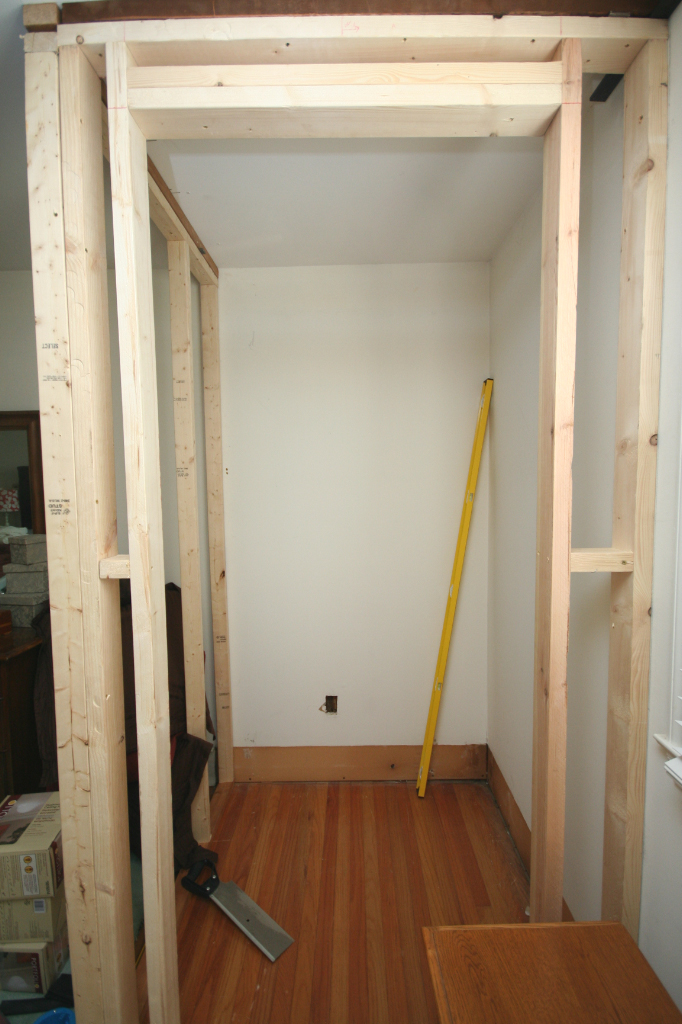
With the doors down Andy started to work on the ceiling fan.  Here the drywall is cut out for the new fan.

New fan/light combo and shower curtain.

It just looks like a recessed light, but it's a serious fan.  No more steaming the wallpaper off the walls from the shower.
  
There were two switches in this bathroom before we started the renovations.  One switch controlled a light in the ceiling and the other controlled the light over the vanity.  We found that we always turned them on at the same time so we didn't compromise any function to combine those two lights on the same switch and use the remaining switch to control the new fan and light in the shower.  This new switch plate replaced the previous one that was covered with wallpaper.  I consider even a reduction of a few square inches of pink and blue flowered wallpaper a success.  

Because it was a small area to repair and we eventually plan to replace the tile when we renovate this bathroom we just needed a quick, but complete fix. Since the existing tile and grout are white this adhesive and grout combo served the purpose.

Finally finished the grout.  SEE -- all of that just for a shower curtain!