Monday, March 25, 2013

Finally Painting

After the priming was complete we had a few small spots bleed through.  We knew this was a possibility from all of the research I had done on what type of primer to use.  We used a latex primer that I had tested on a few spots without any problems so we picked the latex primer over an oil based primer that would have guaranteed no bleed-through. We had also picked a darker color for the walls so we felt confident that we wouldn't have any problems.


The walls took two coats of paint.  We had to paint all of the cracks again on the first coat, but not the second.


Here it is all put back together (with a sneak peak of the new fireplace).


We even got to hang some new art that we picked up on our recent ski vacation.

And a picture of Hawk Eagle Wilson (the bomb dog) thanks to a gift card from MCM and HGM.

The furniture and furniture placement is a work in progress but it's a long way from this.

BEFORE

PROGRESS!


Friday, March 22, 2013

Painting Cracks

With the fireplace doors removed and all of the brick cleaned it was time to start priming the fireplace and walls.  The whole process took a lot longer than we had planned because we had to paint every single crack between the bricks and all of the paneling.
 
We used a very nappy roller for textured surfaces on the brick.  This may or may not have happened.

This also may or may not have happened.  We call it painter's crack and I did NOT paint this crack.

We also had two helpers for the entire project (Kodak and Fozzie who was visiting for a few weeks).

We were so excited to paint over the brick but this was most definitely the point of no return.

Andy used the roller and I followed behind with a brush to fill in all of the cracks.


Once the fireplace was done we started priming the paneling.


We were so happy with the white walls we weren't sure if we could paint it!


Thursday, March 21, 2013

More Prep Work

Before we could start the priming and painting there were a few more things we wanted to fix in the family room.  Because we are ultimately going to paint the paneling we decided to paint the riser of the step going into the front hallway.  The vent was glued to the wood and goes nowhere.  If fact, it was covered with insulation at the bottom of the basement step, so it was most definitely not active.

Andy removed the small piece of duct work so we were left with a giant hole.


Here it is with the new riser installed.

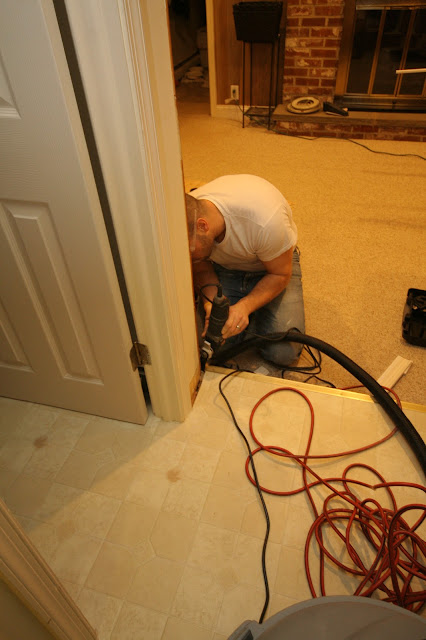
The second prepwork project was to replace the corner moulding around the door leading into the kitchen with casing to match the other doors in the room.

It wasn't as simple as standard casing because we had to cover the transition between the drywall and paneling.

Andy measured and cut out the area at the top of the step to accommodate the larger trim.


With the new trim in place we are finally ready to prime and paint!


Thursday, March 14, 2013

A Dirty Job


To get the family room ready for painting (which includes the brick fireplace and mantel) we decided to ditch the old fireplace doors and heatilator system.  The fireplace has a bit of a backdraft on windy days so we want doors that are more airtight and we wanted to get rid of the electric insert that no longer worked to circulate heat from the fireplace.


Andy removed the doors and used the shop-vac to remove as much of the remaining ashes and debris as possible.

With the fireplace relatively clean he was able to pull out the old insert and grate.


I thought it looked so much better without the brass doors but now that everything is finally painted it's hard to imagine that it actually looked like this for over 2 years. (Kodak photobombs again!)