Thursday, April 4, 2013

Calling In Some Expert Help

With the family room painting complete we decided it was time to finish the work on the fireplace and mantel.  The existing mantel is extremely long and narrow and we wanted something beefier than was already there.

The top board we needed for the mantel was a very odd size - it was over 12 inches wide so standard board stock would not work and it was over 8 feet long so cabinet plywood was not an option.  Andy called for an expert opinion from the home-renovator extraordinaire and friend, Kyle Wise, to devise a plan.  After weeks of discussions, measuring, and planning they decided on a plan.  Kyle even went out and bought the materials to get started before we could schedule a time for Andy to visit " Santa's Workshop".  Kyle bought out all of the woodworking equipment from a local school when they closed their shop so his tools were a huge help.

The top mantel board is actually 4 peices of solid pine glue together.  Then it was time to cut it to size.  The first step was to run it through the industrial grade joiner to get the edges nice and smooth.


Up next it was ripped to width on "The Beast" - Kyle's monster table saw.
 

And then the finished product.  It looks like just a board - but really it is a precision cut, huge, finish grade piece of wood aka a work of art.  Thanks Wise Man.

Before Andy finished building the new mantel he installed the new fireplace doors.  We went with a black frame and cabinet doors instead of bi-fold doors.  The doors take up a little more space but they swing open a full 180 degrees and not having the additional crack that bi-fold doors have cuts down on any draft that we get. 


So, back to the mantel.  Here is the original mantel that Andy planned to build on top of.

First, he installed some 2x4 spaces to make the mantel higher.


Then he added the new top that he and Kyle built.

He added a newpaper with the date for anyone that ever decides to tear the mantel apart.  Time capsule style.


With the top board in place he checked the crown moulding placement and finished the installation. It is the same crown moulding that we installed around the ceiling.


With a little bit of paint and primer our new mantel was complete!


PROGRESS!

BEFORE


Monday, March 25, 2013

Finally Painting

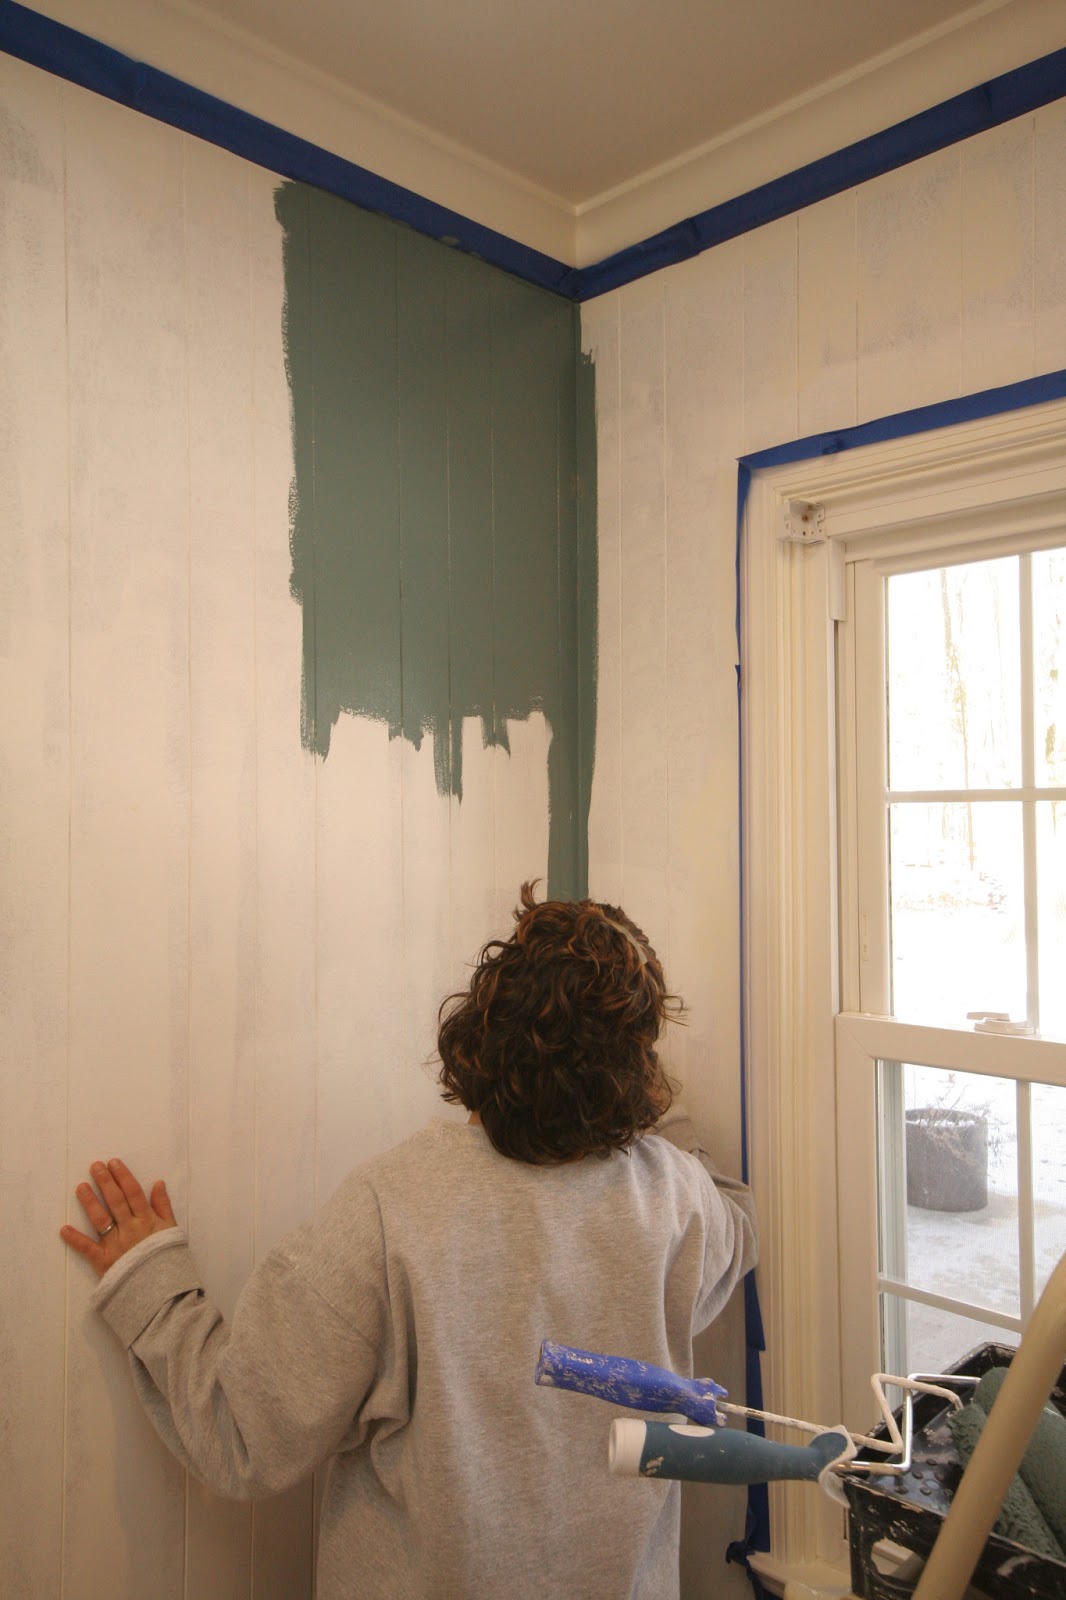
After the priming was complete we had a few small spots bleed through.  We knew this was a possibility from all of the research I had done on what type of primer to use.  We used a latex primer that I had tested on a few spots without any problems so we picked the latex primer over an oil based primer that would have guaranteed no bleed-through. We had also picked a darker color for the walls so we felt confident that we wouldn't have any problems.


The walls took two coats of paint.  We had to paint all of the cracks again on the first coat, but not the second.


Here it is all put back together (with a sneak peak of the new fireplace).


We even got to hang some new art that we picked up on our recent ski vacation.

And a picture of Hawk Eagle Wilson (the bomb dog) thanks to a gift card from MCM and HGM.

The furniture and furniture placement is a work in progress but it's a long way from this.

BEFORE

PROGRESS!


Friday, March 22, 2013

Painting Cracks

With the fireplace doors removed and all of the brick cleaned it was time to start priming the fireplace and walls.  The whole process took a lot longer than we had planned because we had to paint every single crack between the bricks and all of the paneling.
 
We used a very nappy roller for textured surfaces on the brick.  This may or may not have happened.

This also may or may not have happened.  We call it painter's crack and I did NOT paint this crack.

We also had two helpers for the entire project (Kodak and Fozzie who was visiting for a few weeks).

We were so excited to paint over the brick but this was most definitely the point of no return.

Andy used the roller and I followed behind with a brush to fill in all of the cracks.


Once the fireplace was done we started priming the paneling.


We were so happy with the white walls we weren't sure if we could paint it!


Thursday, March 21, 2013

More Prep Work

Before we could start the priming and painting there were a few more things we wanted to fix in the family room.  Because we are ultimately going to paint the paneling we decided to paint the riser of the step going into the front hallway.  The vent was glued to the wood and goes nowhere.  If fact, it was covered with insulation at the bottom of the basement step, so it was most definitely not active.

Andy removed the small piece of duct work so we were left with a giant hole.


Here it is with the new riser installed.

The second prepwork project was to replace the corner moulding around the door leading into the kitchen with casing to match the other doors in the room.

It wasn't as simple as standard casing because we had to cover the transition between the drywall and paneling.

Andy measured and cut out the area at the top of the step to accommodate the larger trim.


With the new trim in place we are finally ready to prime and paint!