On Thursday our garage looked like this. 12' sheets of drywall for the family room ceiling to minimize the number of joints and 8' sheets for the walls in the bathroom and the new closets.

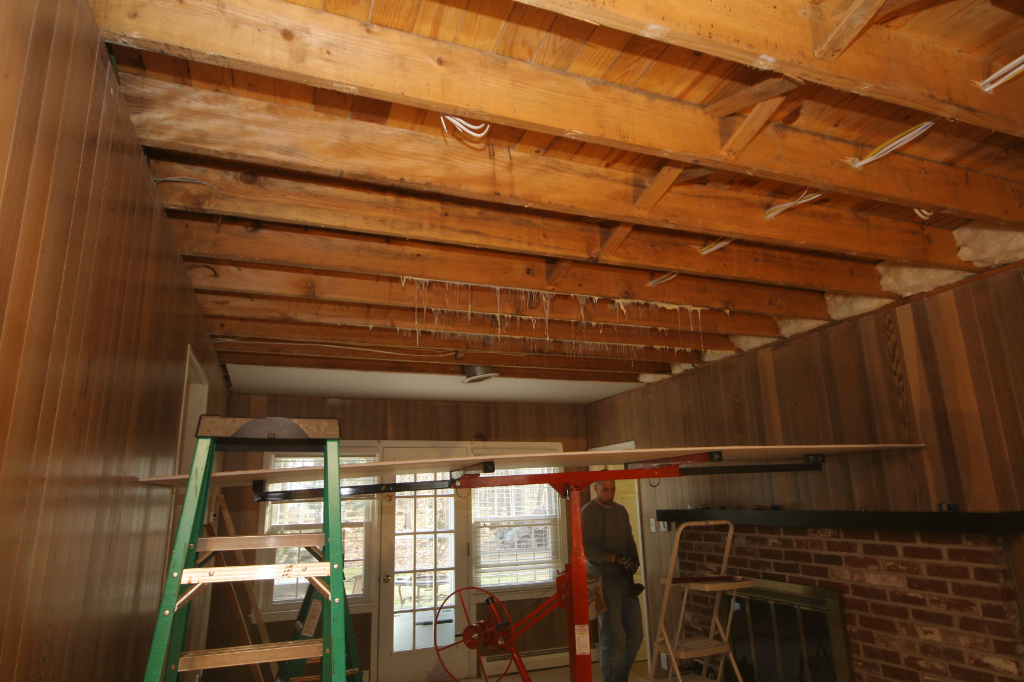
My parents came down on Friday and we started hanging the panels in the family room bright and early. Once we figured out the logistics of getting the large sheets in the house and lined up we used a drywall lift to raise the panel in place and then it took all four of us to get the position correct so that my dad and Andy could screw the panel in place. Here is the first panel installed.


We skipped the location of the second sheet because it required working around a vent in the ceiling and moved on to the third panel. We got it in the house, on the lift, adhesive applied, and raised in place. Then we discovered that one of the rafters was not square and there was no place to attach the drywall.
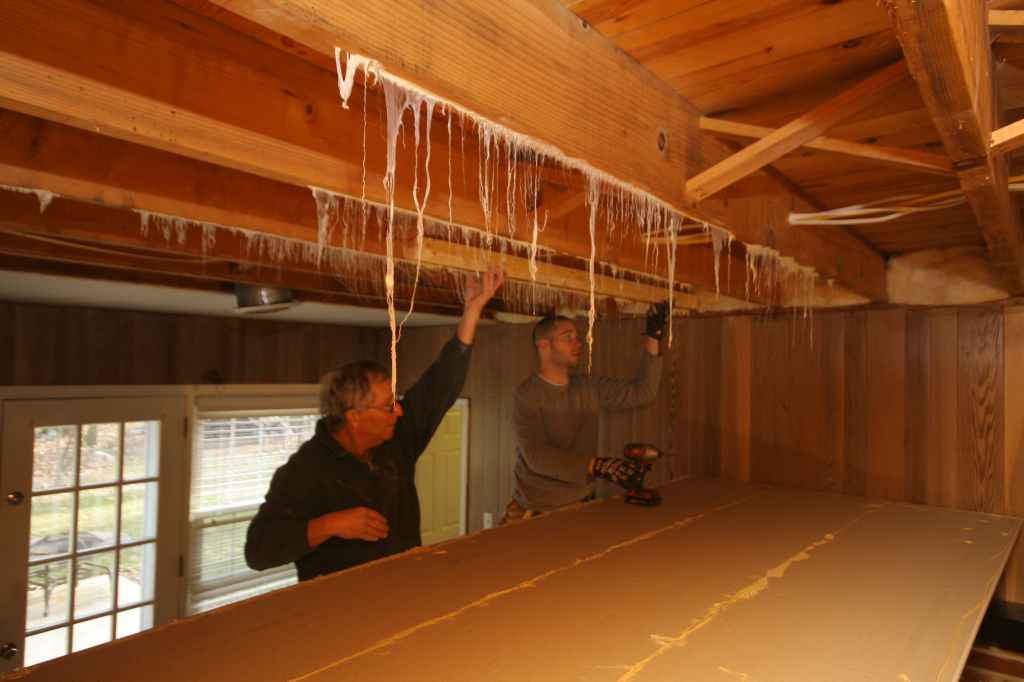
We lowered the panel which created these crazy stalactites of adhesive (bet you never thought I'd use the word stalactite on this blog).

Then my dad and Andy place a new nailer board so that the panel would attach properly.
The pile was dwindling, but this was slow work. My mom and I measured and cut the next panel while my dad and Andy attached the previous one.

The final full panel in place almost 8 hours later.

Lowering the drywall lift.

And it stayed in place. Huge thanks to RZ for letting us borrow the drywall lift. This job would have been IMPOSSIBLE without it. It makes my arms hurt just looking at it.

The process took a lot of furniture relocation as the area between the backdoor and the entrance to the kitchen (left side of the picture) was the only way to get the entire sheet inside and rotated to lay flat on the lift. The family room looks brighter already (and not just because of the blown-out photo below)!

No comments:
Post a Comment